Tutorial for CRUD operation in flutter using SQLITE or SQFITE package
Now we are going to learn how we can use the sqlite database in our flutter app.
Now we need to use the sqlite package its name is “sqflite”. So we need to add that dependency in our file named as “pubspec.yaml”.
So add that dependency inside the “dependencies”.
dependencies:
flutter:
sdk: flutter
cupertino_icons: ^0.1.2
sqflite: ^1.0.0
Now run that command in your terminal.
flutter packages get
Now we are done with installing the sqflite dependency. Now you have to create a student class which will act as a model for the student . which will have the following properties: name, rollNo, id.
class Student { int id; String name; String rollNo;
Student(this.name, this.rollNo, this.id);
Map<String, Object?> toMap() { Map<String, Object?> map = { 'name': name, 'rollNo': rollNo }; if(id != null) { map['id'] = id; } return map; }
}
Now you need to create databasehelper class which will be used to create database and to perform CRUD operations. It uses database student_db. This database is created in the path of the app. This class basically updates , insert and delete student records from the database.
class DatabaseHelper { late Database _database; Future<Database> initializeDatabase() async { if(_database == null) { _database = await createDatabase(); } return _database; } Future<Database> createDatabase() async { Directory directory = await getApplicationDocumentsDirectory(); String path = directory.path + 'student.db'; var studentDatabase = await openDatabase(path, version: 1, onCreate: _createDb); return studentDatabase; } void _createDb(Database db, int newVersion) async { await db.execute('CREATE TABLE student(id INTEGER PRIMARY KEY AUTOINCREMENT, name TEXT, rollNo TEXT, phoneNo TEXT)'); } Future<List<Student>> getStudentList() async { var studentDatabase = await initializeDatabase(); List<Map<String, dynamic>> result = await studentDatabase.query('student'); List<Student> studentList = []; for(Map<String, dynamic> row in result) { studentList.add(Student(row['name'], row['rollNo'], row['id'])); } return studentList; } Future<int> insertStudent(Student student) async { var studentDatabase = await initializeDatabase(); var result = await studentDatabase.insert('student', student.toMap()); return result; } Future<int> updateStudent(Student student) async { var studentDatabase = await initializeDatabase(); int result = await studentDatabase.update('student', student.toMap(), where: 'id = ?', whereArgs: [student.id]); return result; } Future<int> deleteStudent(int id) async { var studentDatabase = await initializeDatabase(); int result = await studentDatabase.delete('student', where: 'id = ?', whereArgs: [id]); return result; }}
Then you need to create a stateful widget which will be used update and insert student records.
class NoteDetail extends StatefulWidget{ final Student student; final String title; NoteDetail(this.student, this.title); @override State<StatefulWidget> createState() { return NoteDetailState(student, title); }}
class NoteDetailState extends State<NoteDetail> { final Student student; final String title; TextEditingController nameController = TextEditingController(); TextEditingController rollNoController = TextEditingController();
TextEditingController idNoController = TextEditingController();
DatabaseHelper databaseHelper = DatabaseHelper(); NoteDetailState(this.student, this.title); @override Widget build(BuildContext context) { nameController.text = student.name; rollNoController.text = student.rollNo; return Scaffold( appBar: AppBar( title: Text(title), ), body: Padding( padding: EdgeInsets.all(16.0), child: ListView( children: <Widget>[ TextField( controller: nameController, decoration: InputDecoration( labelText: 'Name', ), ), TextField( controller: rollNoController, decoration: InputDecoration( labelText: 'Roll No', ), ), TextField( controller: idNoController, decoration: InputDecoration( labelText: 'Id', ), ), Padding( padding: EdgeInsets.all(16.0), child: RaisedButton( child: Text('Save'), onPressed: () { _save(); Navigator.pop(context, true); }, ), ), ], ), ), ); } void _save() async { Student student = Student(nameController.text, rollNoController.text,int.parse(idNoController.text)); if(student.name.isEmpty || student.rollNo.isEmpty) { _showSnackBar(context, 'Please enter student name and roll no'); return; } int result; if(student.id != 0) { result = await databaseHelper.updateStudent(student); } else { result = await databaseHelper.insertStudent(student); } if(result != 0) { _showSnackBar(context, 'Student Saved Successfully'); } else { _showSnackBar(context, 'Error Occured while saving student'); }
} void _showSnackBar(BuildContext context, String message) { final snackBar = SnackBar(content: Text(message)); Scaffold.of(context).showSnackBar(snackBar); }
}
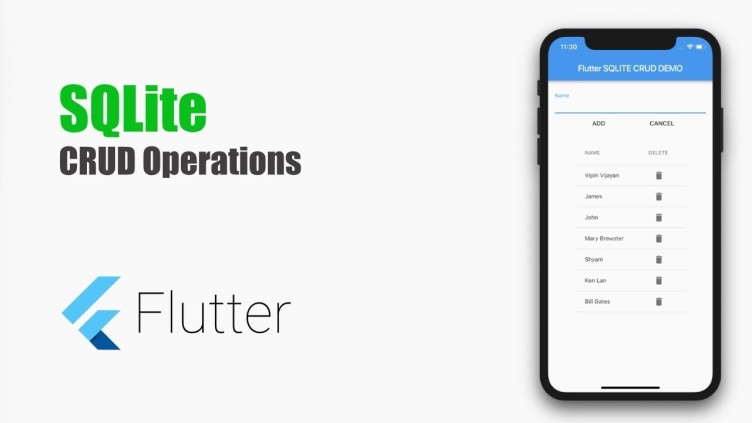
This is will be the main class of the app (the root of the widget tree) and it will be the entry point of the app. It will be the first page that the user will see. This will show listview of the students which contains the name and the roll number. with options to update student and delete the student. The code is given below.
Now we need to import that dependency in our main.dart file so that we can access the database in our project.
So open main.dart file and import sqflite.
import 'package:sqflite/sqflite.dart';
Code for main.dart file.
import 'dart:async';import 'dart:io';import 'package:flutter/material.dart';import 'package:flutter/material.dart' as prefix0;import 'package:flutter/services.dart';import 'package:path_provider/path_provider.dart';import 'package:sqflite/sqflite.dart';
void main() => runApp(MyApp());
class MyApp extends StatelessWidget { // This widget is the root of your application. @override Widget build(BuildContext context) { return MaterialApp( title: 'Student', theme: ThemeData( primarySwatch: Colors.blue, ), home: HomePage(), ); }}
class HomePage extends StatefulWidget { @override _HomePageState createState() => _HomePageState();}
class _HomePageState extends State<HomePage> { DatabaseHelper databaseHelper = DatabaseHelper(); late List<Student> studentList; int count = 0;
@override Widget build(BuildContext context) { return Scaffold( appBar: AppBar( title: Text('student'), ), body: getNoteListView(), floatingActionButton: FloatingActionButton( child: Icon(Icons.add), onPressed: ()=> navigateToDetail(Student('Saify', 'Tech', 0), 'Add student'), ), ); }
ListView getNoteListView() { return ListView.builder( itemCount: count, itemBuilder: (BuildContext context, int position) { return Card( color: Colors.white, elevation: 2.0, child: ListTile( leading: CircleAvatar( backgroundColor: Colors.yellowAccent, child: Icon(Icons.person), ), title: Text(this.studentList[position].name), subtitle: Text(this.studentList[position].rollNo), trailing: Row( mainAxisSize: MainAxisSize.min, children: <Widget>[ IconButton( icon: Icon(Icons.delete), color: Colors.red, onPressed: ()=> _delete(context, studentList[position]), ), IconButton( icon: Icon(Icons.edit), color: Colors.yellowAccent, onPressed: ()=> navigateToDetail(this.studentList[position], 'Edit Student'), ), ], ),
), ); }, ); }
void _delete(BuildContext context, Student student) async { int result = await databaseHelper.deleteStudent(student.id); if(result != 0) { _showSnackBar(context, 'Student is Deleted Successfully'); updateListView(); } }
void _showSnackBar(BuildContext context, String message) { final snackBar = SnackBar(content: Text(message)); Scaffold.of(context).showSnackBar(snackBar); }
void navigateToDetail(Student student, String title) async { bool result = await Navigator.push(context, MaterialPageRoute(builder: (context){ return NoteDetail(student, title); })); if(result == true) { updateListView(); } }
void updateListView() { final Future<Database> dbFuture = databaseHelper.initializeDatabase(); dbFuture.then((database) { Future<List<Student>> studentListFuture = databaseHelper.getStudentList(); studentListFuture.then((studentList) { setState(() { this.studentList = studentList; this.count = studentList.length; }); }); }); }
}
The above code is available at this github repo. Dont forget to follow for more such tutorials


Leave a Comment
No Comments Yet